If you've seen the news recently, you'll have noticed many articles on the comet with the green tail (C/2022 E3) that will only come once in a lifetime for everyone to see.
In theory, you can see the comet through a telescope across several days, but I don't own a telescope. So my window to see the comet was down to one night when it would be visible without any special equipment.
As of writing this article, that would be tonight.
But as I write this article, there's full cloud coverage and rain.
So there's no comet sighting for me, at least not in real life. I looked up some pictures. I discovered Stellarium, an amazing open source planetarium for your computer! This article is all about this open source way to view the universe.
Stellarium
Stellarium is a free, open source planetarium software for every OS. It's an amazing 3D simulation of the night sky that lets you explore and observe stars, constellations, planets, and other celestial objects. What's really cool about it is that it has a comprehensive database of stars, nebulae, galaxies, and so much more. Also, the software allows you to view the sky from any location on Earth at any time in the past or future, so you can look at a future night sky your descendants may see. Stellarium also includes advanced features such as telescopic controls and the ability to track the motion of celestial objects. Amateur astronomers and educators use Stellarium to explore the sky, and it is considered one of the best planetarium programs available.
What does Stellarium offer?
This is the coolest part. With the most accurate database, you get some super high-quality maps in the most realistic way possible. You can create customized views and pick a time and location of what you want to see. If you think, "It really can't be that realistic," you would be wrong. It also simulates the atmosphere. Your view will look as if you were standing on the ground staring at the sky yourself. There's an option to act like you're looking through a telescope which is just as real as you doing it yourself from your backyard. It also includes a scripting language that allows you to create animated events—great if you're teaching or just want to mess around. Finally, it's available in a wide range of languages, meaning almost anyone can use it.
Do I have to download and install this to use it?
Nope, you don't, and I'll give you a bit of a demo on how to use the web version.
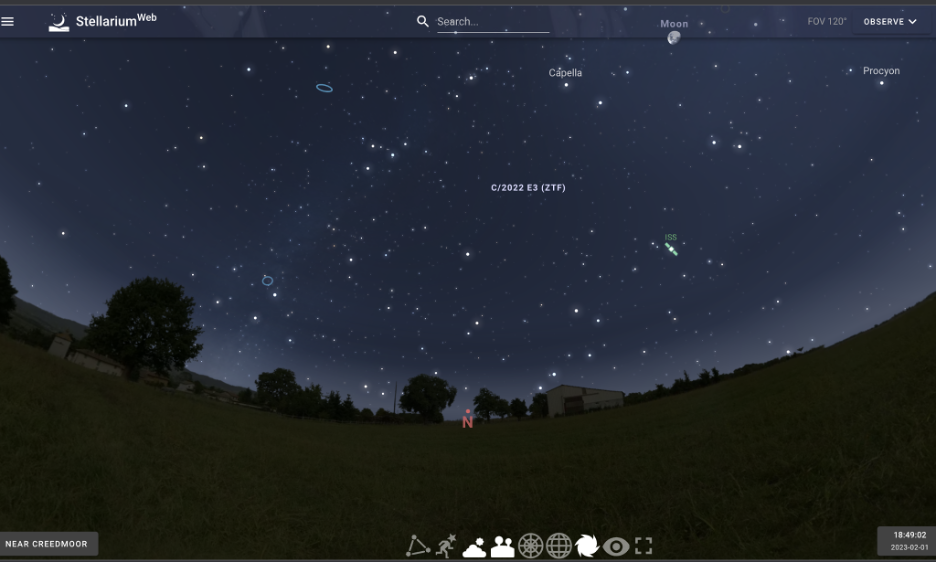
First, get to the website. It will show you the sky. It asks for your location on your browser window. From where I was at this point of writing, I lucked out and caught the International Space Station (ISS) hanging out on my screen. It didn't last long, so I'm glad I grabbed it while I did.
(Jess Cherry, CC BY-SA 4.0)
I'll explain those buttons from right to left.
First on the list is the Full Screen button. If you want to sit and stare into space (pun intended), click that square, and you're full screen ahoy!
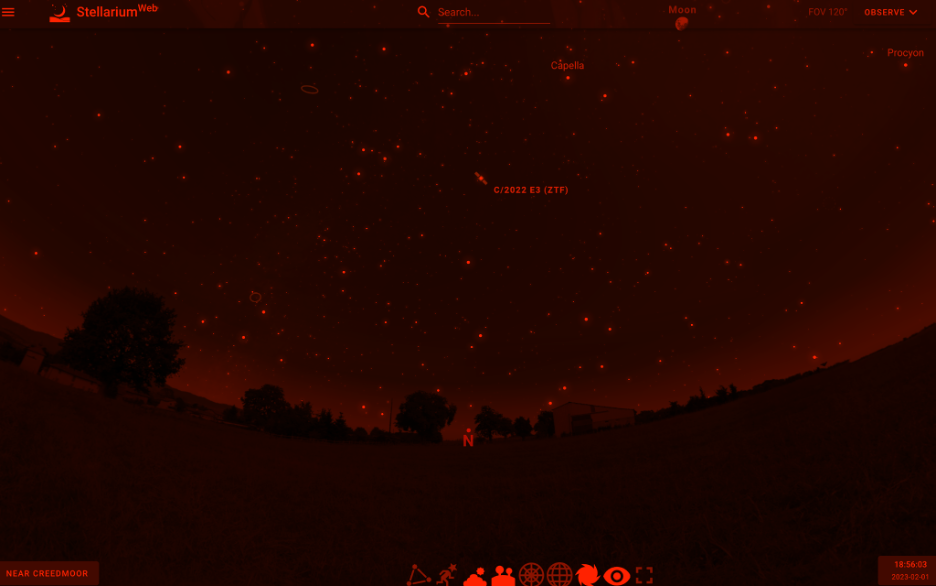
Next is a Night Mode button. Use this in the dark so your night vision won't be interfered with. I wasn't using this at night, so it looks rather odd.
(Jess Cherry, CC BY-SA 4.0)
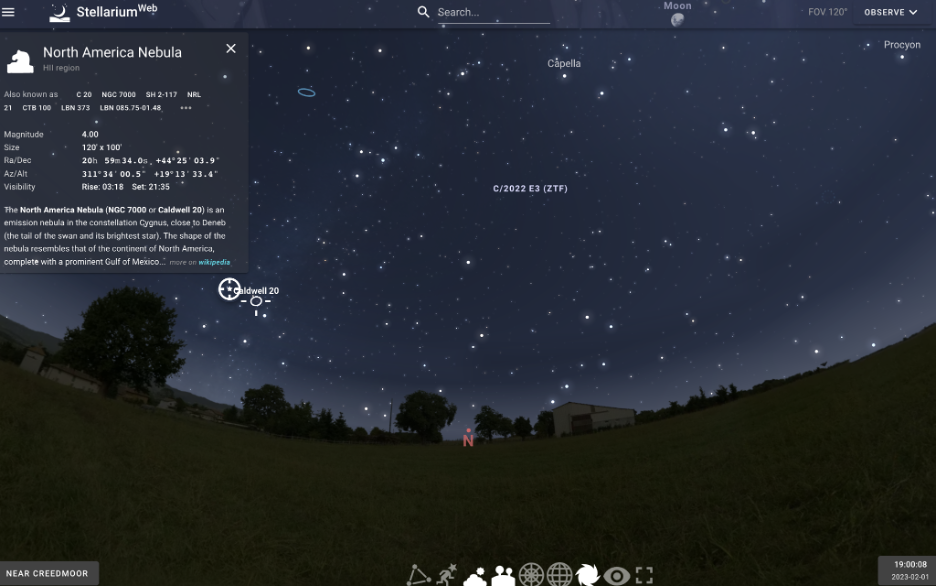
The Deep Sky Objects button is next, which is what those tiny circles are on the screen. When you click within a circle, it shows detailed information about that object. It also includes a link to additional resources if you want to research further.
(Jess Cherry, CC BY-SA 4.0)
Additional deep sky details.

(Jess Cherry, CC BY-SA 4.0)
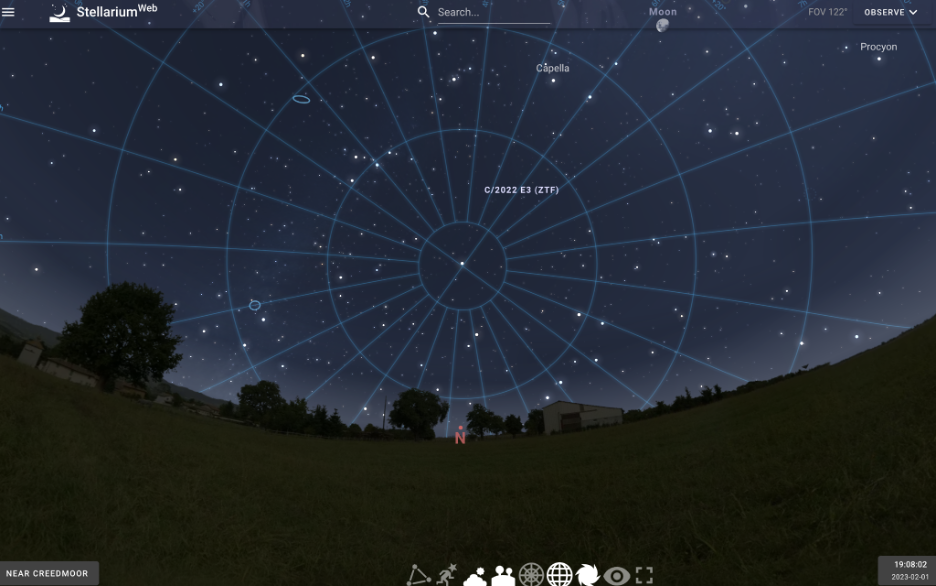
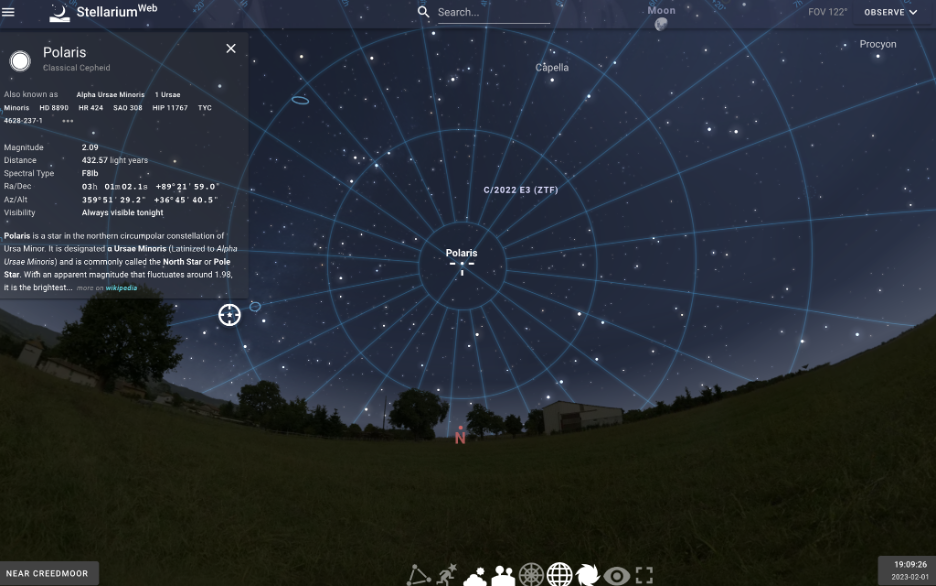
There is the Equatorial Grid button. This coordinate system is based on two measurements similar to latitude and longitude but made from right ascension and declination. Right ascension is measured in hours, minutes, and seconds eastward along the celestial equator (which is equal to 24 hours) and is actually the known equator on every globe you see. I could go into further detail, but I suggest checking out resources from your local college or NASA. Here's what happens when you click that button.
Select the free grid, which centers right on Polaris, more commonly known as the North Star.
(Jess Cherry, CC BY-SA 4.0)
Additional details are shown.
(Jess Cherry, CC BY-SA 4.0)
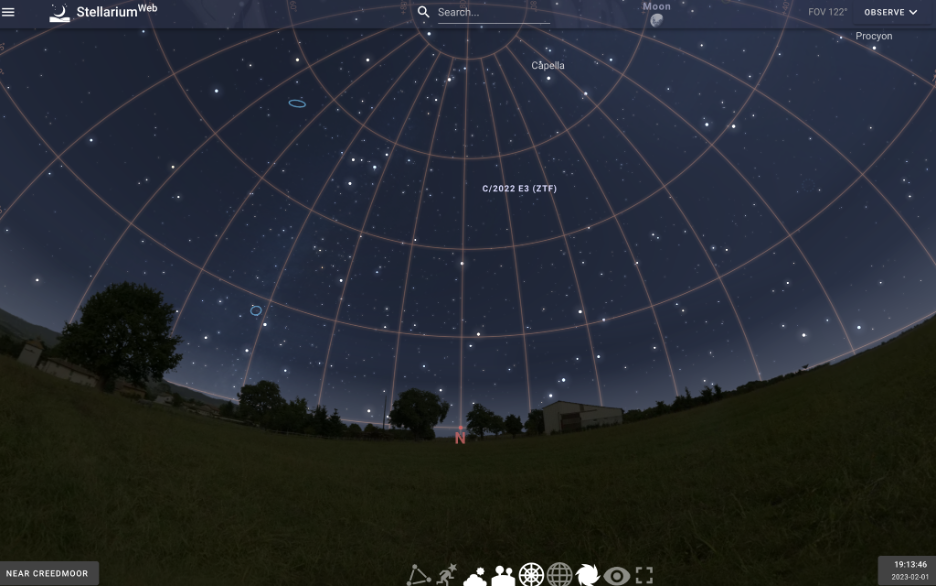
The next button over is the Azimuthal Grid. This grid type is based on altitude and azimuth relative to your location. Azimuth is an angular measurement in decimal degrees. Again, check with your local planetarium, college, educators, and NASA for more details.
(Jess Cherry, CC BY-SA 4.0)
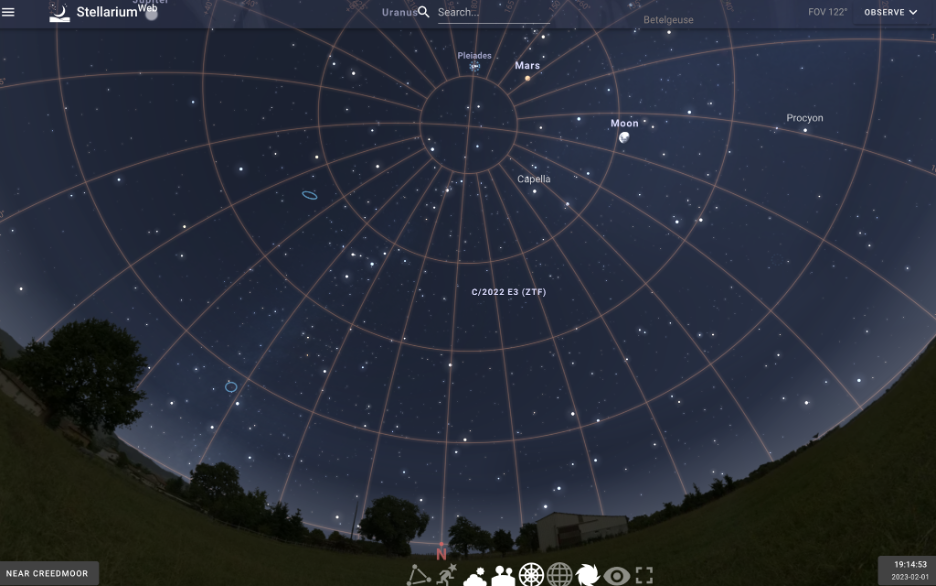
This picture shows the location I'm technically "standing" and gives a good view.
(Jess Cherry, CC BY-SA 4.0)
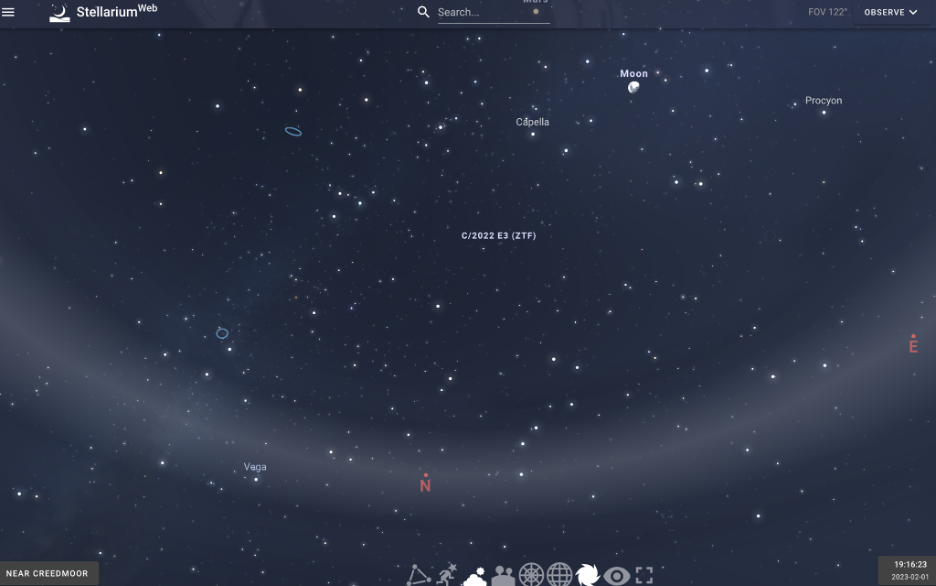
Next is the Landscape button. When you click it, the scenic landscape disappears.
(Jess Cherry, CC BY-SA 4.0)
I liked the farm better, so I intend to turn it back on.
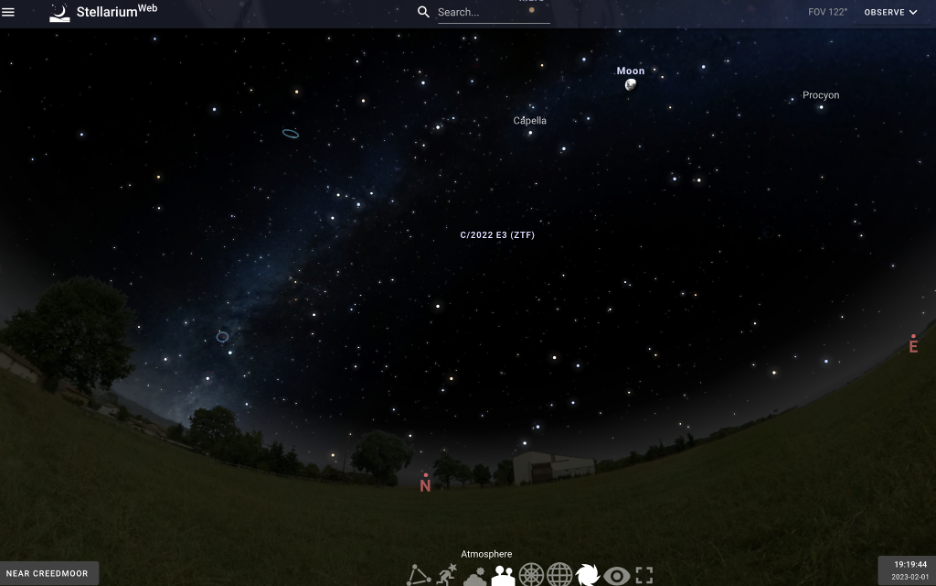
Remember I explained there's a realistic view of how the atmosphere visually interferes? Well, it's been on the entire time in my screenshots. You've seen the refractional light providing a filter like you would any other night. The Atmosphere button removes that. I turned off that visual in the following screenshot to show you a whole new world.
(Jess Cherry, CC BY-SA 4.0)
And as you can see, a whole new level of the night sky opens up. While in theory, this would be amazing to see, we need oxygen, so the atmosphere needs to stay. However, I'll leave this button off for the remaining images in the tour.
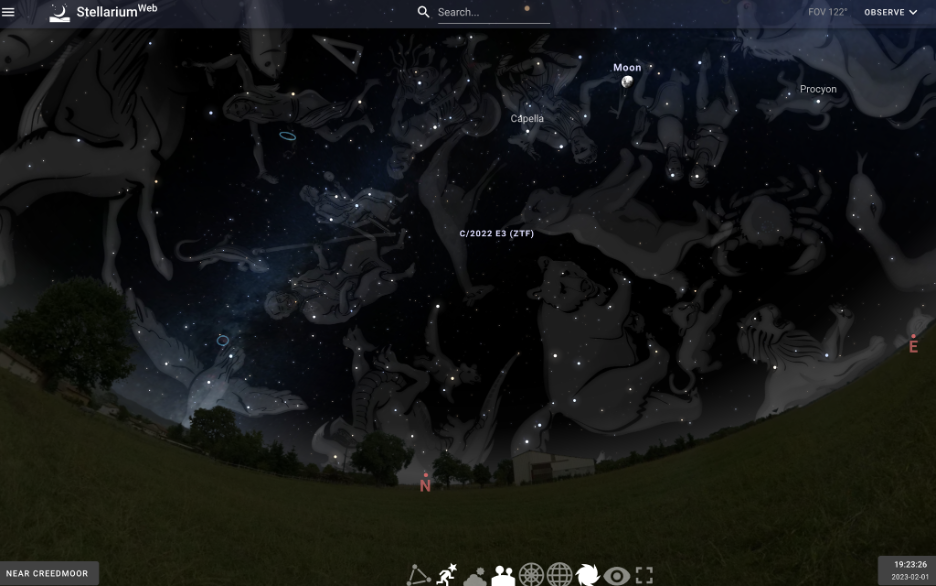
Another entertaining button (to me, at least) is the Constellation Art button. You may be thinking, "Ok, cool, we get to see those lines in the sky like every other map I've seen." Nope! You get to see some pretty amazing artwork based on all those historical myths you've read about.
(Jess Cherry, CC BY-SA 4.0)
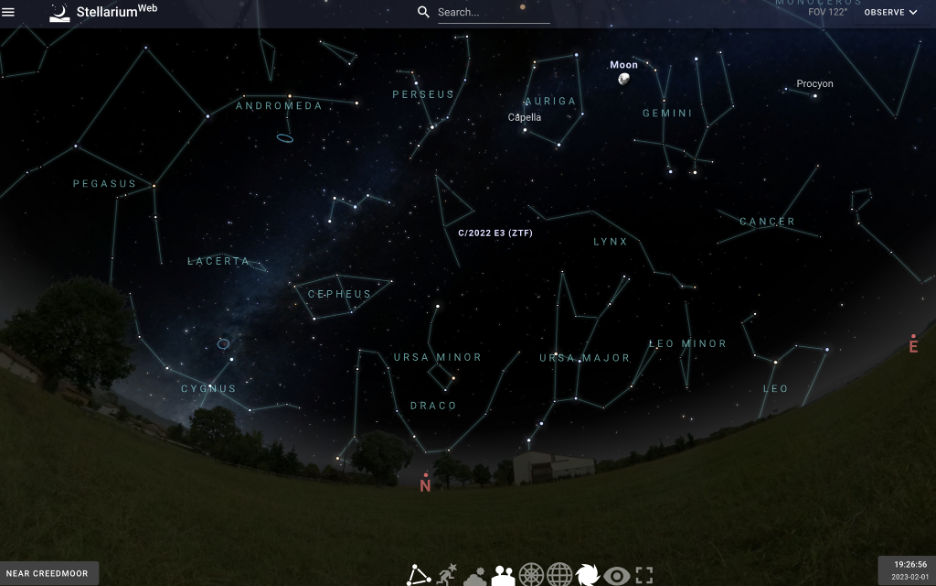
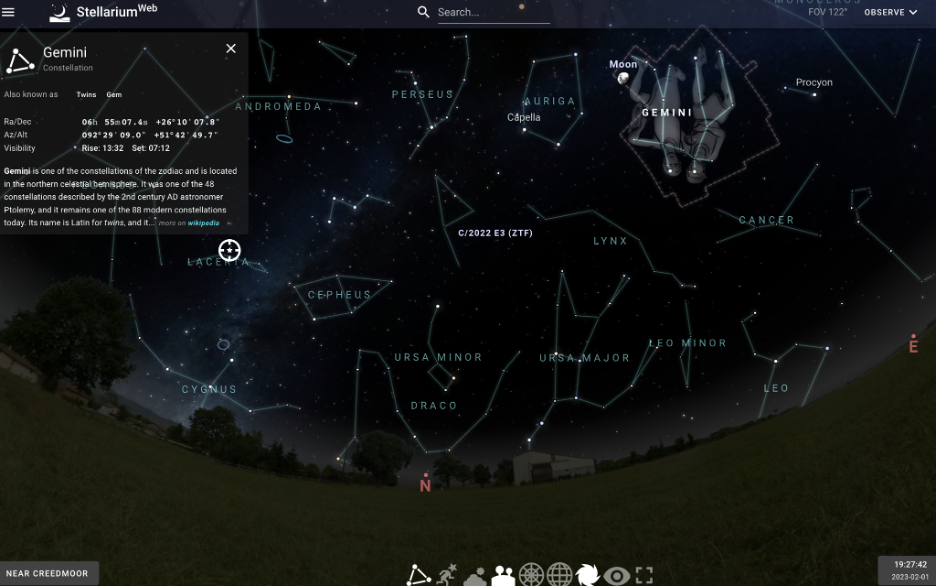
This is a fantastic function, and I love the detail. However, the Constellations button displays the traditional constellation lines if you prefer that view. Aside from the lines, it also includes names. When you click those names, you get information and the picture shown in the above artwork.
(Jess Cherry, CC BY-SA 4.0)
(Jess Cherry, CC BY-SA 4.0)
What else can I do?
So now that I introduced the buttons, I'll show the other features, starting with movement on the screen. It's a simple click and drag to change your view of the sky. When you remove the landscape, you can look down and see everything below you. There's a light-colored fog circle around your view, which is the celestial equator.
Earlier, I mentioned some cool telescope-related features. You can easily manage these. Start by clicking an object, star, or planet and using a few buttons. I'll click the Moon. Underneath the description, you'll see what looks like a target with a star in the middle.

(Jess Cherry, CC BY-SA 4.0)
Click that target icon to get a set of buttons to zoom in and out.
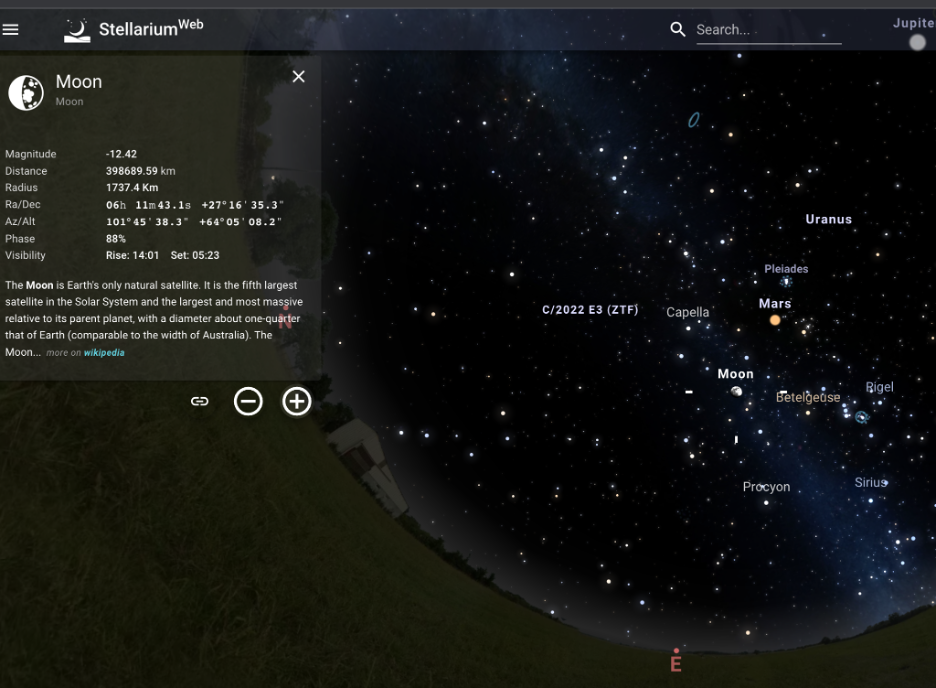
(Jess Cherry, CC BY-SA 4.0)
I zoomed in with the plus (+) button to see what I would get. The picture below appeared after I clicked the plus button about five times.
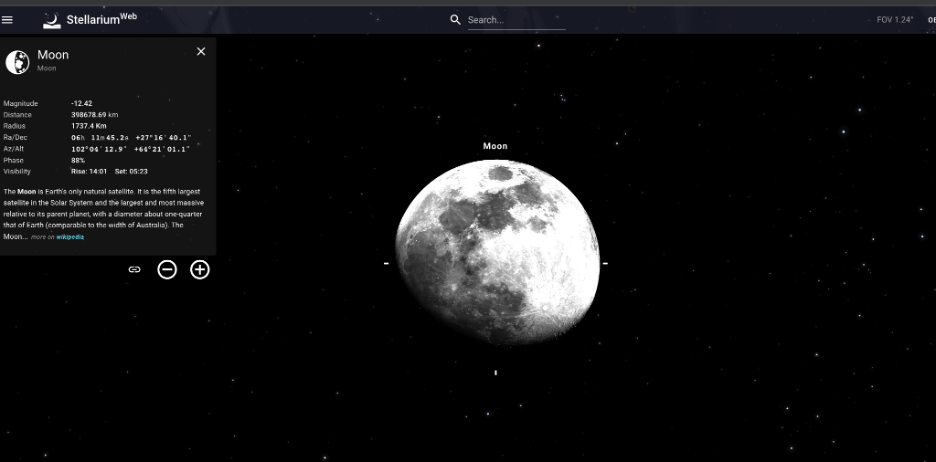
(Jess Cherry, CC BY-SA 4.0)
There's also a link button next to those zoom buttons allowing me to share this view at the exact time and date I wrote this article.
How do I contribute?
Since this is open source software, you can contribute in whatever way you can. See these contributing guidelines, ask to commit code via pull request (PR), report problems, or become a backer or sponsor of the project by donating here.
Space out with Stellarium
I stumbled on this amazing project while wandering the internet in search of something. I mentioned Stellarium is installable on every OS. In a future article, I'll cover installing and using it on a Raspberry Pi. I'm thinking of titling it, "The galaxy in your hands," but I'm always open to title suggestions. Feel free to leave a comment with anything else you want to read about. Hopefully, you learned something new and will enjoy the web version of Stellarium. And maybe you just "spaced out" at work for a few minutes.





3 Comments